Setting up Quanser's QLabs Simulator!
What's QLabs?
What’s Quanser Interactive Labs? Quanser Interactive Labs (QLabs) is a collection of virtual hardware-based laboratory activities that supplement traditional or online courses. However, my usage of the environment will be different from its intended use.
Quanser, the company that developed QLabs and also designs, maintains, and sells their hardware designs that are implemented in the simulator, mainly sells their services and materials for academic usage. For example, if a professor would want to teach some specific robotic manipulator in-class and would want a student-safe model off-the-shelf with documentation and testing for academic use. However, Quanser also runs annual competitions. This year, a Quanser representative came to Toronto Metropolitan University (TMU) to talk to us about Quanser and to introduce the chance to participate in this year’s 2026 American Control Conference (ACC) Self-Driving Car Student Competition, which will be ACC 2026 for future use.
The purpose of this doc
This doc will go through how to set up QLabs and how to get started in the environment! Since I wasted a decent amount of time on things that weren't necessary this doc should hopefully be a streamlined tutorial on how to get you up and running as fast as possible.
The following steps are from my own experience and are all orginally from the Quanser provided tutorials / docs:
Assumptions being made
If you are planning to follow along the steps on setting up QLabs and its relevant docker containers to start developing your submission for the competition, this doc will assume you have the following.
- A dedicated NVIDIA GPU
- At least 90GB of storage allocated to your Ubuntu install
- You are running Ubuntu 24.04 LTS natively
- You have Docker engine installed Docker Installation Instructions
- Access to QLabs
- QLabs is already installed
If you have all of the above, continue to Getting Started.
Getting Started
In my opinion before you install anything you should have a quick look at the diagram below, it'll help you understand the general structure of whats happening under the hood.

Download and Run setup_linux.py
-
Download
setup_linux.pymanually from the repository: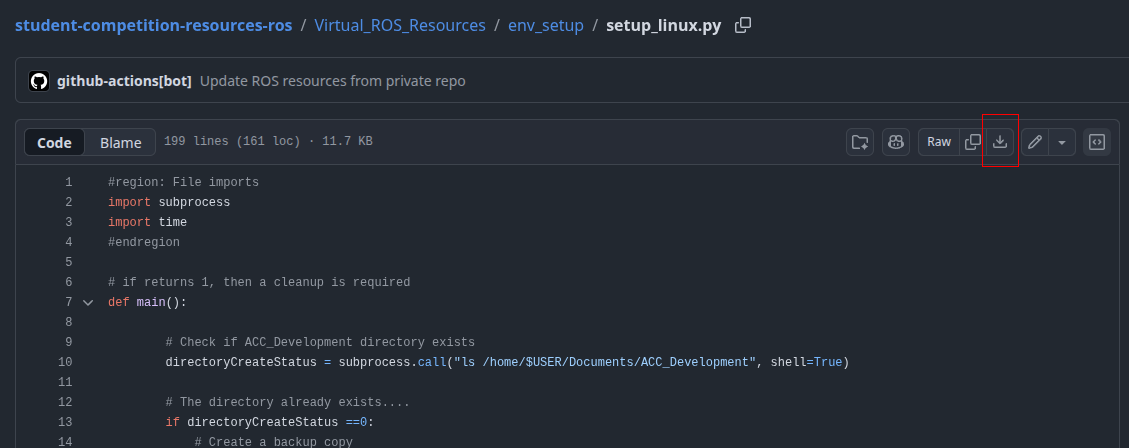
-
Run the script:
python3 setup_linux.py
After running setup_linux.py your host folder layout should look like:
/home/$USER/Documents/ACC_Development/
	├─ backup/
	├─ Development/
	├─ docker/
	└─ isaac_ros_common/
How to Set Up the Quanser Virtual Environment Docker Container []
This container sets up the Quanser Interactive Labs virtual environment.
- Download the repo configuration and configure the Quanser apt repo (one-time):
wget --no-cache https://repo.quanser.com/debian/release/config/configure_repo.sh
chmod u+x configure_repo.sh
./configure_repo.sh
rm -f ./configure_repo.sh
sudo apt update
- Install QLabs, Quanser Python APIs, and QUARC runtime:
sudo apt-get install qlabs-unreal python3-quanser-apis quarc-runtime
-
Sign into QLabs Simulator
-
Build or run the custom Quanser python docker:
cd /home/$USER/Documents/ACC_Development/docker/development_docker/quanser_dev_docker_files
sudo docker run --rm -it --network host --name virtual-qcar2 quanser/virtual-qcar2 bash
This container includes scripts under /home/qcar2_scripts/python (e.g. Base_Scenarios_Python).
To open additional terminals attached to the container:
docker exec -it virtual-qcar2 bash
To pull the latest image from Docker Hub:
docker pull quanser/virtual-qcar2:latest
Set Up the Development Docker Container
-
Install Nvidia Container Toolkit (follow the official guide for apt/Ubuntu):
https://docs.nvidia.com/datacenter/cloud-native/container-toolkit/latest/install-guide.html
-
Navigate to the isaac_ros_common folder on the host:
cd /home/$USER/Documents/ACC_Development/isaac_ros_common
- Start the development container (mounts your host dev folder):
./scripts/run_dev.sh /home/$USER/Documents/ACC_Development/Development
Note: You may need to add your user to the Docker group and restart.
To add your user to the Docker group and activate it without a full reboot:
sudo usermod -aG docker $USER
newgrp docker    # or log out and log back in to apply the new group
If the Docker service needs restarting:
sudo systemctl restart docker
Verify your group membership:
id -nG
# or
groups $USER
How to Run the ROS2 Humble Nodes
Once you are ready to start developing, follow these steps to start the virtual environment:
-
Natively in Ubuntu, open the QLabs application and navigate to the SDCS then the Open Plane.
-
If you do not have a Quanser Virtual Environment Docker container open, follow the above sections to open one.
-
Using the Quanser Virtual Environment Docker container, navigate to the following directory:
cd /home/qcar2_scripts/python
- Run the following Python script to spawn the competition map into QLabs:
python3 Base_Scenarios_Python/Setup_Competition_Map.py
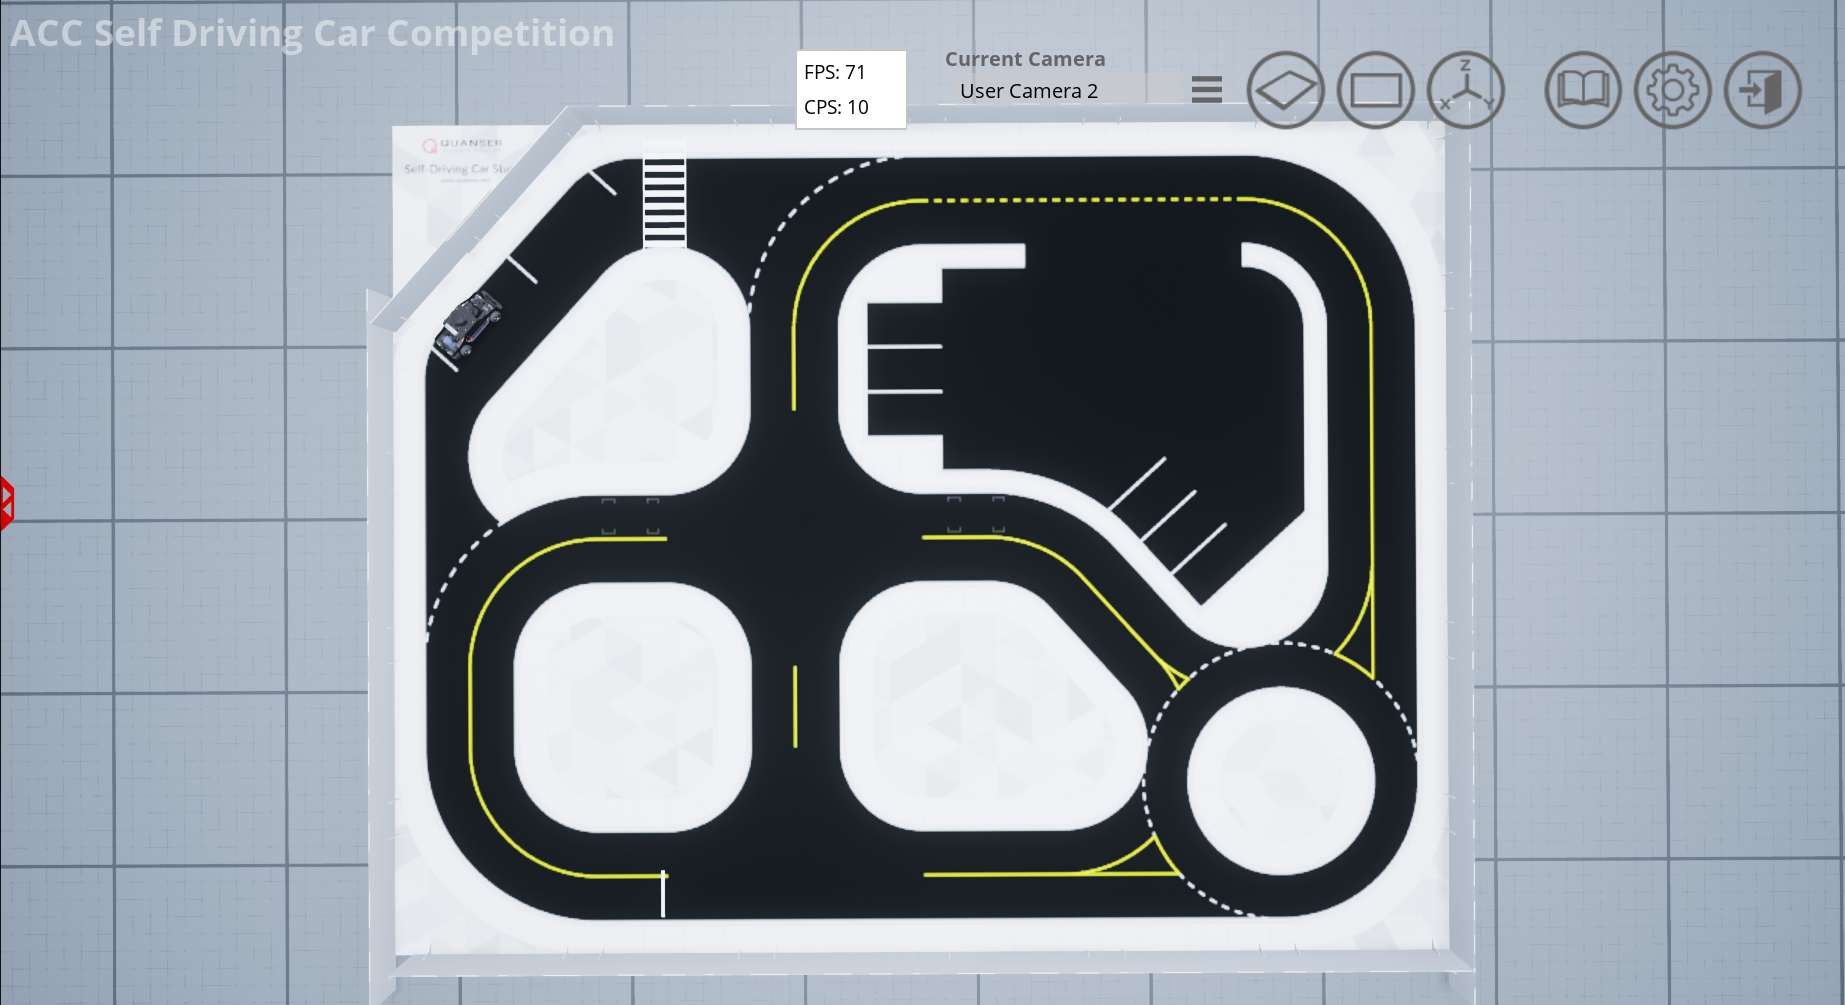
Once everything has run to completion, the QLabs world should look like the following:
Verification: Quick ROS2 test
Run the commands below in three separate terminals to verify the setup.
- Terminal 1 — start the Quanser virtual container:
sudo docker run --rm -it --network host --name virtual-qcar2 quanser/virtual-qcar2 bash
- Terminal 2 — start the Development container, build and launch the QCar2 nodes:
cd /home/$USER/Documents/ACC_Development/isaac_ros_common
./scripts/run_dev.sh /home/$USER/Documents/ACC_Development/Development
colcon build
. install/setup.bash
ros2 launch qcar2_nodes qcar2_virtual_launch.py
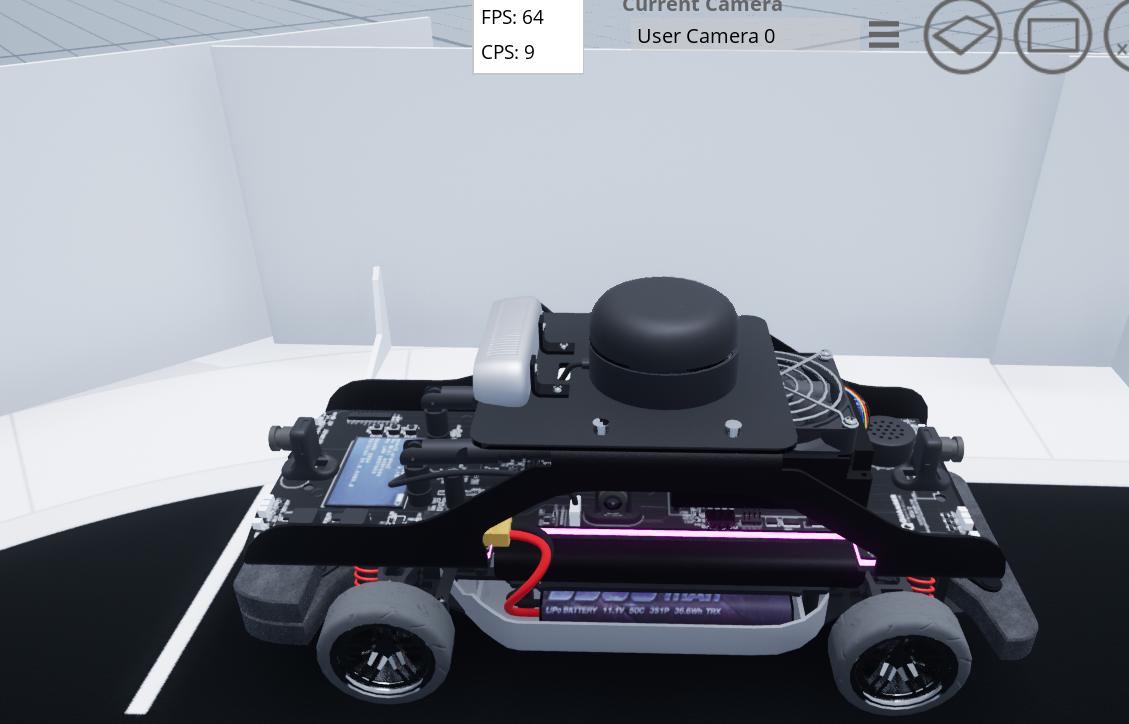
- Terminal 3 — attach to the virtual container (or re-run the development container) and toggle the QCar LED to confirm communication:
cd /home/$USER/Documents/ACC_Development/isaac_ros_common
./scripts/run_dev.sh /home/$USER/Documents/ACC_Development/Development
ros2 param set qcar2_hardware led_color_id 0   # sets LED to red
and than test another color
ros2 param set qcar2_hardware led_color_id 5 # sets LED to magenta
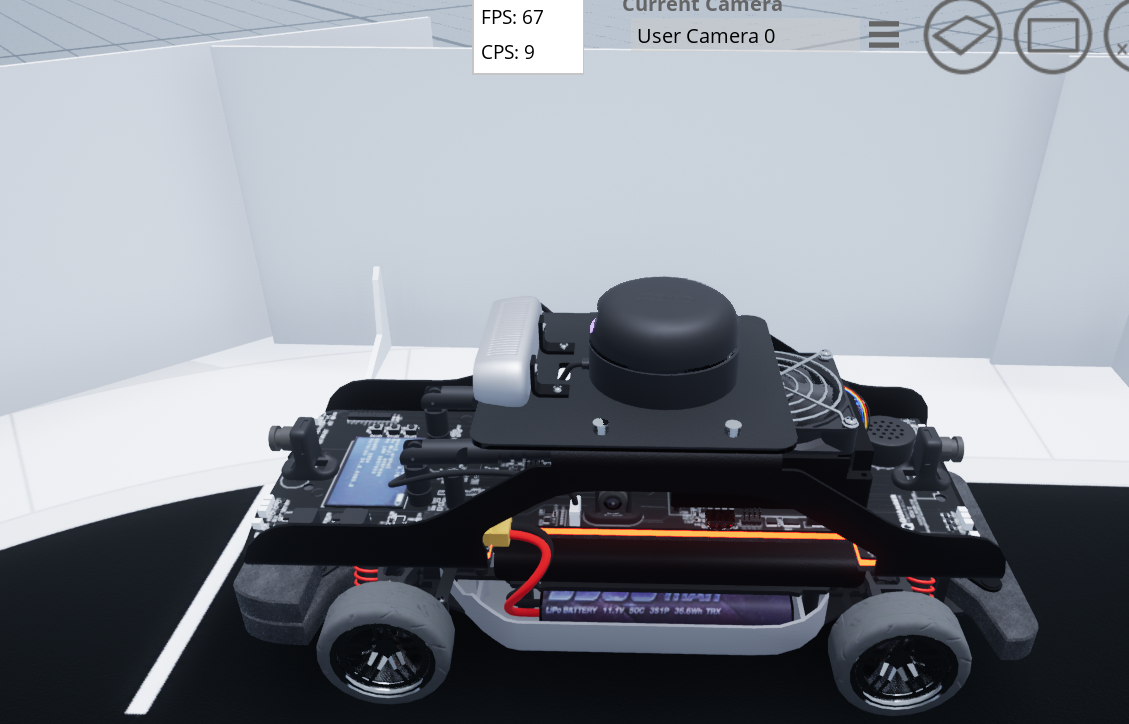
Expected visual confirmation: